Skill Level: Moderate to Advance knowledge and usage experience with databases in phpMyAdmin and cPanel.
Ever had to change the WordPress database tables prefix to make them more secure? and you had to rely on bulky plugins and other sources? Below I want to share a very easy 3 stage process to change the table prefix, so it works without breaking anything.
Stage 1: Change wp-config.php
Using an FTP client or from cPanel File Manager, open the wp-config.php file — Search for $table_prefix = ‘wp_’.
Change this to your custom prefix. Use a less-than-9-character letter-number combo with no meaning, like “8J2kIp0_”.
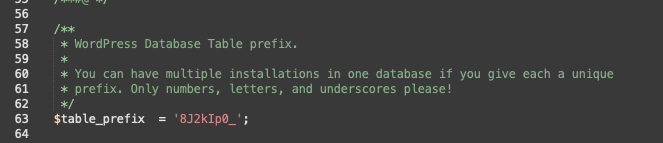
Save Changes.
Stage 2: Change prefix in phpMyAdmin
Go into your cPanel from your web host — find phpMyAdmin from Databases section, and open the database view.
Click on the correct database table from the left side menu. When you click on the database, it will show all the tables in the database on rigth side of the page.
Scroll to the bottom and find Check all / Check tables having overhead.
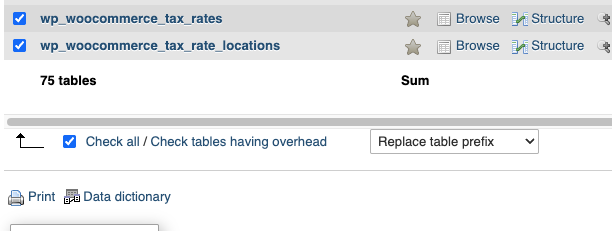
From the drop-down, select Replace table prefix — in the prompt box, enter the old prefix “wp_” changing into new one “8J2kIp0_”. Click Continue. Now all the table names will be changed.
Stage 3: Change related field values in _options and _usermeta
Click on the database table, then the SQL tab on the top right side. This will open a Run SQL query box for the database. Copy the SQL code below and change it to your specific prefix names, paste it in the big text box, and click Go below the text box.
-- Fix roles
UPDATE `8J2kIp0_options`
SET option_name = REPLACE(option_name, 'wp_', '8J2kIp0_')
WHERE option_name LIKE 'wp_%';

-- Fix user capabilities
UPDATE `8J2kIp0_usermeta`
SET meta_key = REPLACE(meta_key, 'wp_', '8J2kIp0_')
WHERE meta_key LIKE 'wp_%';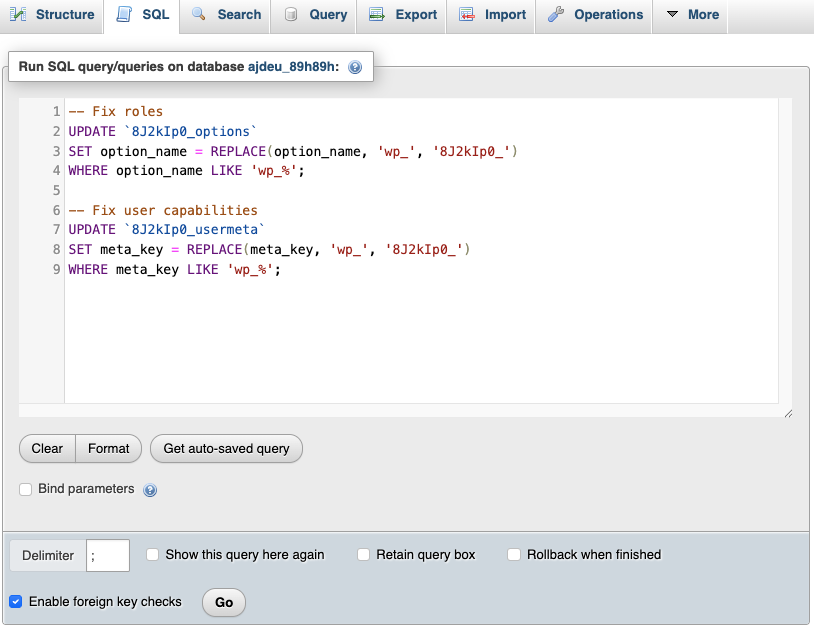
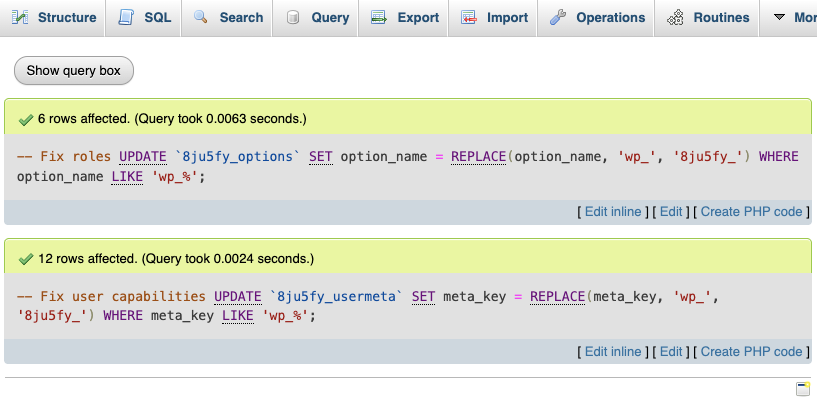
Running this will show how many rows are affected by this, like below. This part is important for the website users to gain access to the admin side.
That is it. Go back to the website and refresh, clear the browser cache, and see if everything works.